
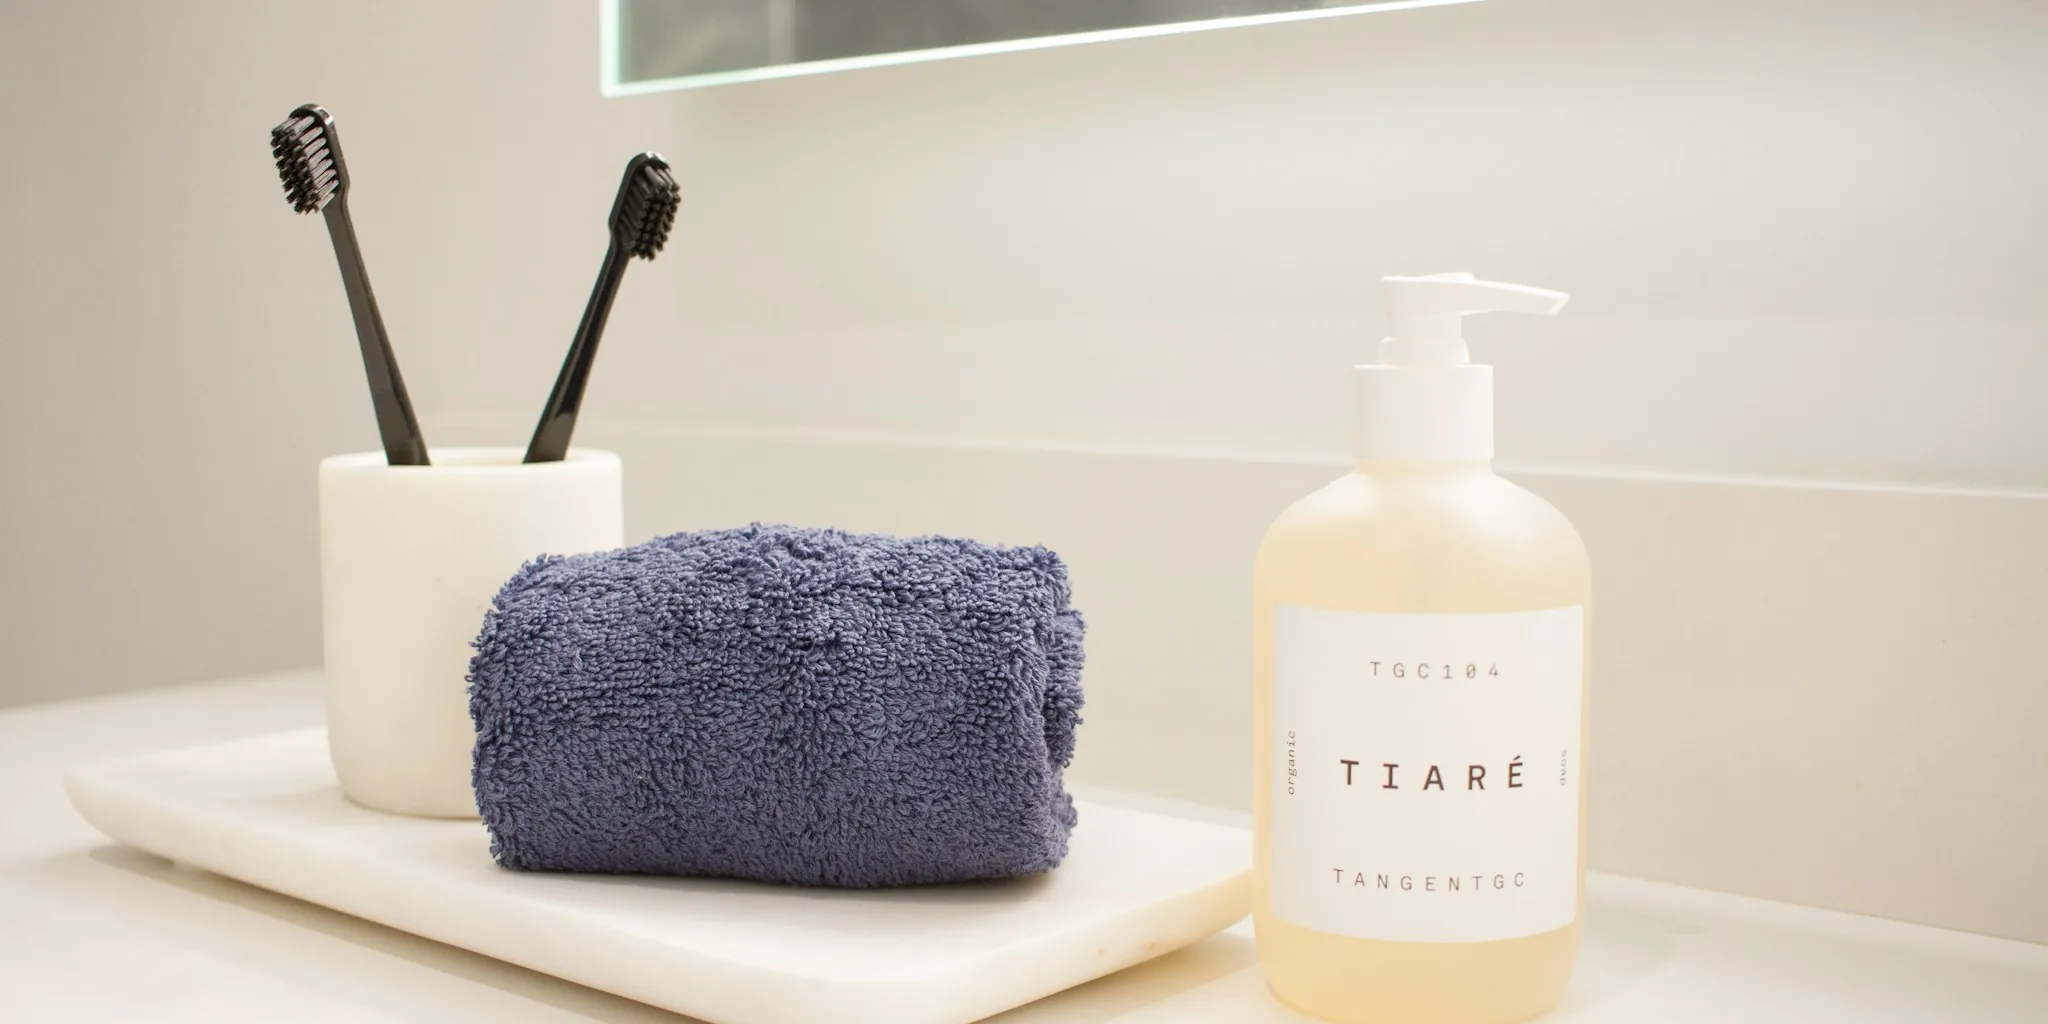

A budget-friendly storage hack is gaining attention among homeowners looking to maximize bathroom counter space without buying expensive organizers. The solution involves repurposing old frying pans into a two-tier storage system that not only saves money but also adds a decorative touch to your bathroom.
Bathroom organization has become increasingly important as more people work from home and spend extended time in personal spaces. Finding effective storage solutions that fit seamlessly into bathroom decor presents a real challenge for consumers. This DIY approach offers a practical answer by transforming items you likely already have at home into functional storage that rivals commercial options.
What This Storage Solution Offers
The two-tier frying pan storage system provides several benefits beyond simple decluttering. First, it maximizes vertical space on your bathroom counter, leaving more room for daily essentials and reducing visual chaos. Second, it costs almost nothing if you use pans you already own. Third, the finished product looks intentional and stylish rather than makeshift or temporary.
This storage trend arrives as bathroom organization continues to evolve. Whether you combine this approach with other solutions like affordable shower baskets for under $4 or incorporate design upgrades, creating a cohesive bathroom becomes manageable on any budget.
How to Build Your Frying Pan Storage System
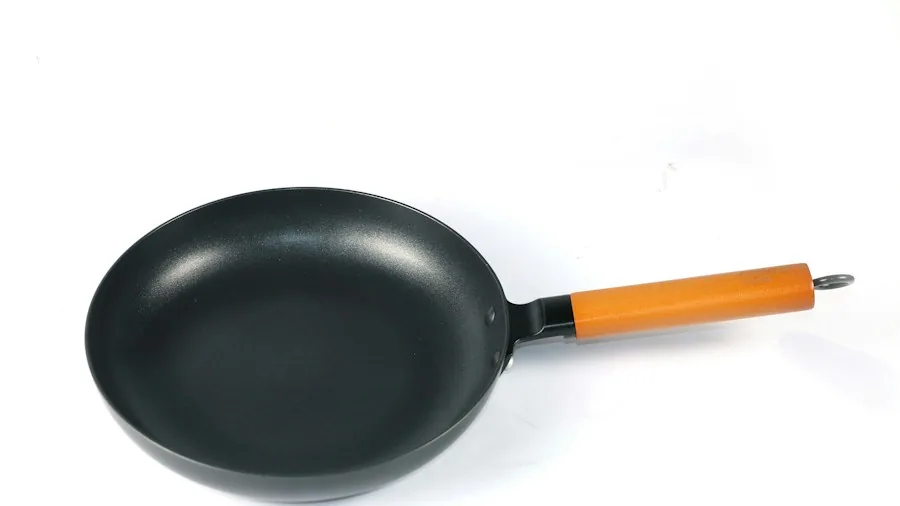
The construction process is straightforward and requires common tools and materials. Start by removing the handles from two old frying pans using a screwdriver. If metal brackets remain, carefully cut them away with a handheld saw. Choose one pan as your base, typically the larger of the two.
Paint comes next. Apply a white acrylic paint base coat to the inside of both pans using a paint sponge. Once dry, add your preferred color on top, whether that’s gold, white, soft gray, or any shade matching your bathroom decor. Seal the paint with a clear spray sealant to protect against moisture and daily wear.
For texture and visual interest, hot glue jute rope to the outside back of each pan, creating a rustic, earthy aesthetic. Alternatively, you can use colored cotton rope to match your bathroom theme or personal style preferences.
Assembly and Installation
The stacking mechanism uses a wooden dowel as the support structure. Drill holes into the center of both pans and the wooden dowel, then secure them together with screws. Position the larger pan at the bottom and stack the second pan above it using the dowel as a connector.
Cover the exposed screw on the top pan with a decorative wooden knob, ball, or finial to complete the polished look. Place your finished storage system on your bathroom counter and fill it with cosmetics, skincare products, medications, or other personal care items that typically clutter bathroom surfaces.
This project pairs well with other bathroom improvements homeowners are investing in. Anti-fog mirrors with smart technology represent another popular upgrade, giving shoppers multiple ways to transform their spaces incrementally.
Customization Options
One of the biggest advantages of this DIY project is the freedom to personalize every aspect. Select paint colors that complement your existing bathroom tiles, fixtures, and accessories. If you prefer a modern look, stick with neutral tones like white, gray, or soft beige. For bold bathrooms, consider jewel tones or metallic finishes.
Rope selection also offers customization potential. Jute provides a natural, coastal vibe, while colored cotton rope gives you flexibility to match or contrast with your decor. Some people add stickers, paint patterns, or additional embellishments to make the storage truly one of a kind.
What This Means for Shoppers

This trend signals a shift toward DIY solutions and upcycling in home improvement. Rather than purchasing new storage containers that may not fit your space or style, consumers are discovering that thoughtful repurposing often yields better results at a fraction of the cost.
For buyers exploring bathroom renovations or upgrades, this approach demonstrates that significant improvements don’t require major expenses. Whether combined with maintenance projects like caulk removal for bathroom updates or standalone storage enhancements, these small projects add up to meaningful transformations.
The frying pan storage system also appeals to environmentally conscious consumers who prefer keeping items out of landfills. By extending the life of worn kitchen tools, you reduce waste while creating something beautiful and functional for your bathroom.
Getting Started
Before throwing away old frying pans, consider this DIY project as a practical alternative. Gather your materials, dedicate an afternoon to the build process, and watch your bathroom counter transform. The result is a unique, personalized storage solution that costs next to nothing and looks professionally designed.

Write Your Review
No reviews yet. Be the first to share your experience!