
Affordable DIY Solution Transforms Dated Bathtubs into Modern Fixtures
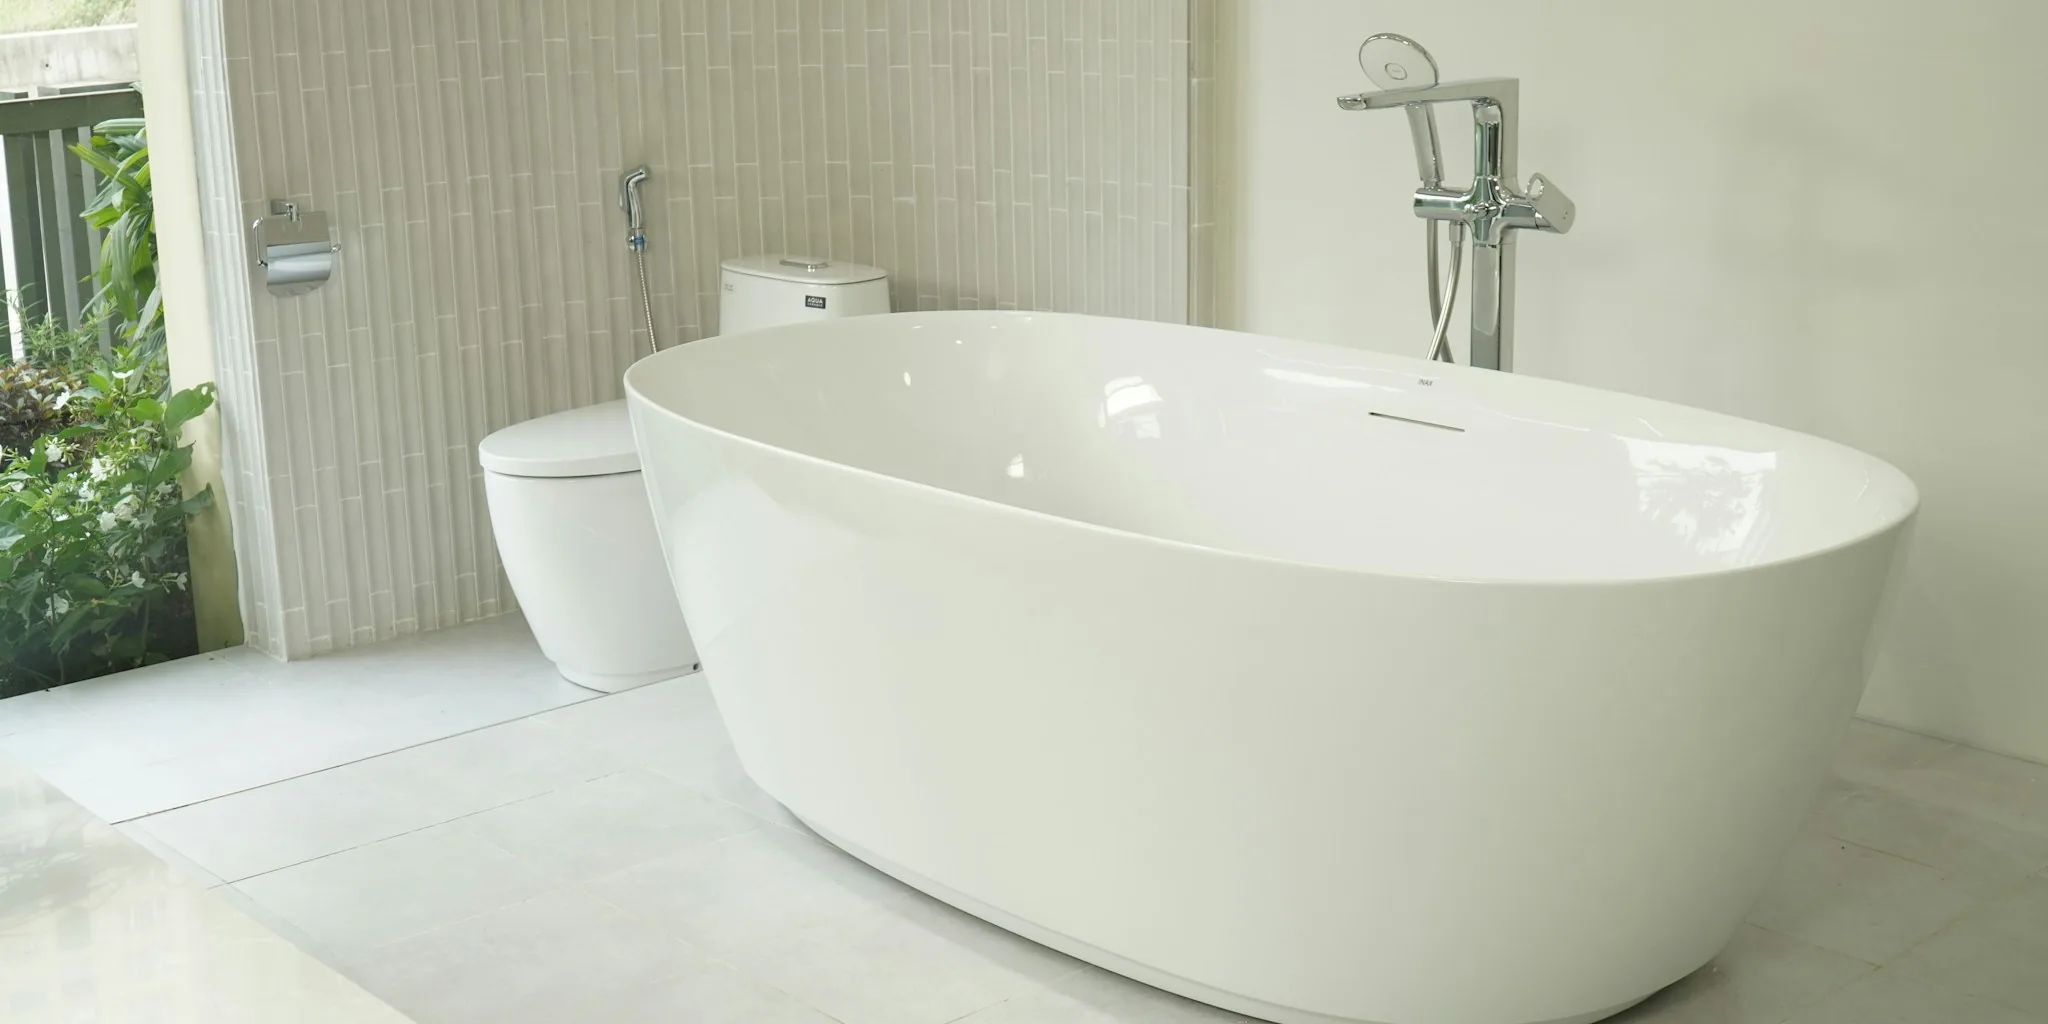
Buying an older home can feel like a dream come true, but outdated bathrooms can quickly become a source of frustration. Decades-old bathtubs in faded yellow, pink, or other dated colors are a common problem for homeowners looking to refresh their spaces without breaking the bank. The good news: you don’t need to pay for a full bathroom renovation to make a dramatic difference. A growing number of homeowners are discovering that a combination of paint and affordable stone tiles can completely transform a tired bathtub into something that looks modern and fresh.
This budget-friendly upgrade addresses a real pain point for many bathroom shoppers. Full renovations often cost thousands of dollars, but this DIY approach can be completed in as little as a weekend with basic supplies and minimal experience required. The technique involves two main steps: refinishing the bathtub surface with paint and covering the tub apron (the front facing panel) with manufactured stone tiles.
What You Need to Complete This Project
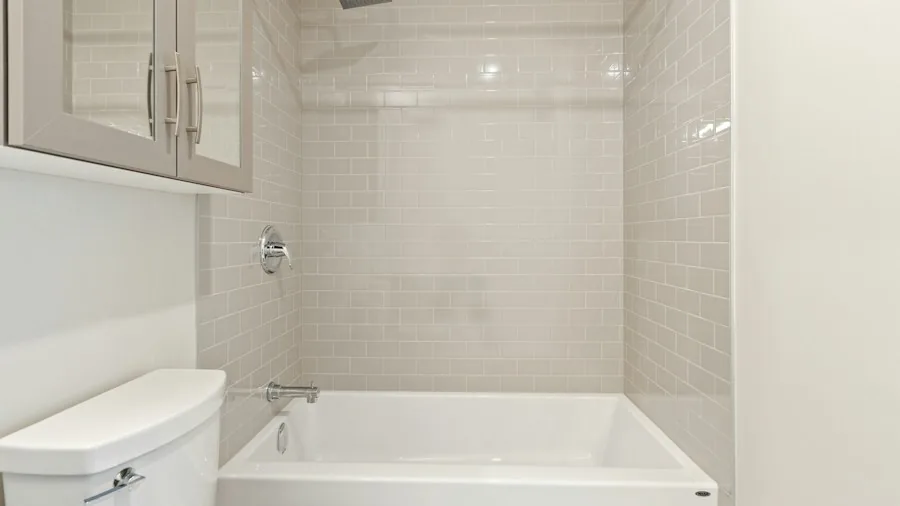
The first component of this upgrade is a high-gloss tile refinishing kit. These kits typically come with primer, paint, hardener, a roller, and a foam brush, making the painting process straightforward even for beginners. The instructions included in the kit remove much of the guesswork, so following the manufacturer’s guidelines ensures professional-looking results.
For the stone tile portion, you’ll need manufactured stone tiles designed for wall or apron applications, along with stone-specific adhesive and a caulk gun or putty knife for application. One standard box of stone tiles covers approximately 8 square feet, which is sufficient for most bathtub aprons. Before shopping, measure your tub’s apron to confirm you have enough material.
According to design experts, small bathroom upgrades can completely change how a space feels, and this project proves that point. The combination of white painted surfaces with natural stone creates a contemporary aesthetic that appeals to most homebuyers and renters alike.
Step-by-Step Application Process
Once your bathtub has been painted according to the refinishing kit instructions and allowed to cure properly, it’s time to add the stone tiles. The key to success is planning before you commit to adhesive. Lay all your tiles on the bathroom floor first to plan your layout and determine which stones need cutting. This preview prevents mistakes and helps you visualize the final result.
Natural stone tiles vary slightly in dimension and color from piece to piece, which actually works in your favor. This natural variation creates a more authentic, high-end appearance than uniform manufactured tiles. You can cut stones using a masonry bit paired with a hacksaw, circular saw, or jigsaw.
The application itself is relatively straightforward. Apply adhesive to the back of each tile and press it onto the tub’s apron. Stagger the joints as you place tiles rather than aligning them in neat rows, which creates a more natural, finished appearance. If you make a placement error before the adhesive dries, simply remove the tile and reposition it.
After completing tile placement, wait 48 hours for the adhesive to cure completely. This waiting period is crucial and cannot be rushed. Once cured, apply a high-quality stone or masonry sealer to protect the surface from moisture and extend the life of your installation. Test any sealer on a spare tile first to ensure you’re satisfied with the appearance.
Why This Upgrade Works for Budget Conscious Shoppers
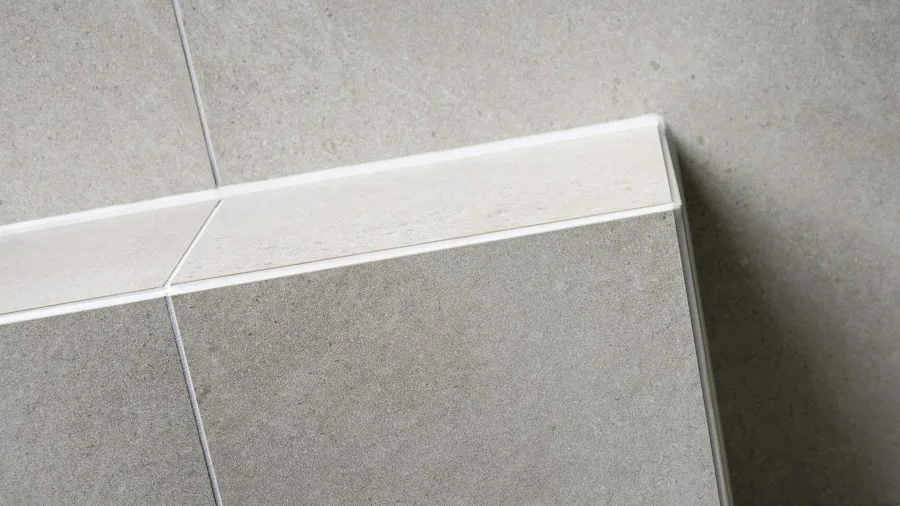
This project appeals to several types of bathroom shoppers. Homeowners with older properties who want immediate visual improvements without major expense find this approach practical. Renters or those planning to sell their homes soon benefit from the relatively quick timeline and modest investment. Unlike permanent renovations, this solution offers a middle ground: substantial visual improvement at a fraction of typical remodeling costs.
The refinishing and stone tile combination is versatile too. While white paint paired with neutral stone tiles creates a clean, contemporary look, you could adjust colors to match your existing bathroom aesthetic or personal preferences. Other budget bathroom projects complement this upgrade nicely, allowing you to tackle multiple improvements gradually rather than all at once.
Planning Your Timeline
The actual hands-on time for this project spans a weekend, but the curing time adds several days to the overall timeline. Plan for a Friday paint job, allowing the bathtub to cure over the weekend before applying stone tiles on the following week. The adhesive then needs another 48 hours to set, so plan for sealing approximately midweek.
This staggered approach means your bathroom is only truly out of commission for a few days at a time rather than weeks. That makes the project feasible for busy families or anyone who cannot tolerate an unusable bathroom for extended periods. Strategic bathroom upgrades often inspire homeowners to improve other areas of their homes as well.
For shoppers tired of staring at an outdated bathtub, this proven technique offers an accessible path forward. The combination of modern materials and straightforward application methods means nearly any homeowner can achieve results that look professionally installed, regardless of their DIY experience level.