
When you stand at the lumber aisle of any home center, you’re looking at hundreds of boards that appear similar at first glance. The real story of how strong, stable and suitable each piece is lies in a small black stamp printed near one end. Understanding what that stamp means can save you money, prevent costly mistakes, and ensure your framing project meets building code requirements.
Why the Stamp Matters More Than Appearance
Many buyers select lumber the same way they shop for produce: by eye. If a board looks straight and clean, it must be good, right? Not necessarily. A lumber grader with nearly three decades of experience once watched a customer reject five perfectly good boards because of minor bark remnants along the edge, then hand-pick five replacements that were actually below grade. This happens frequently because most shoppers have no idea what the grading stamp communicates.
The stamp tells you whether a board is rated to support a floor, how far it can safely span between supports, and how much additional shrinking will occur after installation. It names the mill, the grading agency, the grade, the wood species, and the moisture content when the lumber was surfaced. A casual glance at grain patterns and knots cannot reveal any of this information.
The Five Key Fields on Every Graded Lumber Stamp
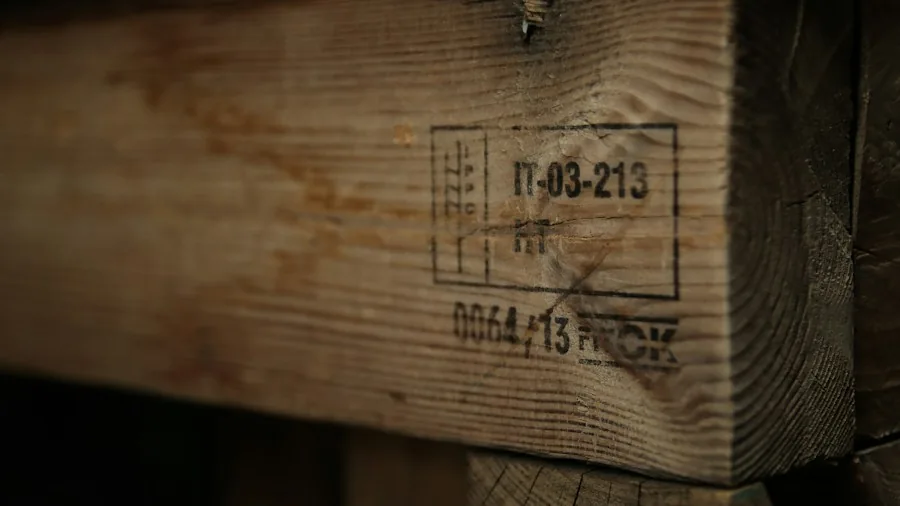
Every accredited stamp carries the same five essential pieces of information, though agencies may arrange them slightly differently:
- Mill Number: Identifies the sawmill that produced the board. This matters only if a defective batch needs to be traced back to its source. Otherwise, move on.
- Grading Agency Logo: Shows which agency supervised the grading. Common ones include the Western Wood Products Association (WWPA) for Douglas Fir and Hem-Fir, the Southern Pine Inspection Bureau (SPIB) for Southern Pine, and others. The logo must appear on the American Lumber Standard Committee’s official list to be valid.
- Grade: This is the critical field. Structural grades (Select Structural, No. 1, No. 2, and No. 3) apply to joists, rafters and headers. No. 2 is the standard choice for residential framing. Stud grade is for wall framing and is held straighter than No. 2. Light-framing grades (Construction, Standard, Utility) are for plates, sills and blocking only, not for anything that spans.
- Species or Species Group: Determines design values and span distances. Douglas Fir-Larch, Hem-Fir, Spruce-Pine-Fir and Southern Pine are the most common. If your plans specify a species, buy that species. If not, read the species off the stamp itself, not the store’s shelf tag.
- Moisture Code: Shows how wet the wood was when surfaced. KD and S-DRY mean 19 percent moisture or less. S-GRN means over 19 percent. For framing inside a heated house, buy KD or S-DRY to minimize shrinkage and the nail pops and cracks that come with it. S-GRN lumber will continue to move and is suitable only for temporary bracing.
How Grade Sets Allowable Defects
The grade determines what defects are permitted and their size limits. Knots are the primary factor, and position matters as much as size. A knot at the edge of a board weakens it far more than the same knot along the centerline, because stress is concentrated at the edges when a board bends. A 2×4 No. 2 allows a 1.25-inch edge knot but a 2-inch knot on the centerline.
Here’s the counterintuitive part: a board with bark remnants along the edge (wane) but no knots is actually stronger than a visually cleaner board with large knots. Wane is an appearance problem that doesn’t reduce strength, while knots, holes and splits do. When experts break test samples, lumber with wane consistently outperforms pieces with significant knots.
Moisture Movement and Long-Term Performance
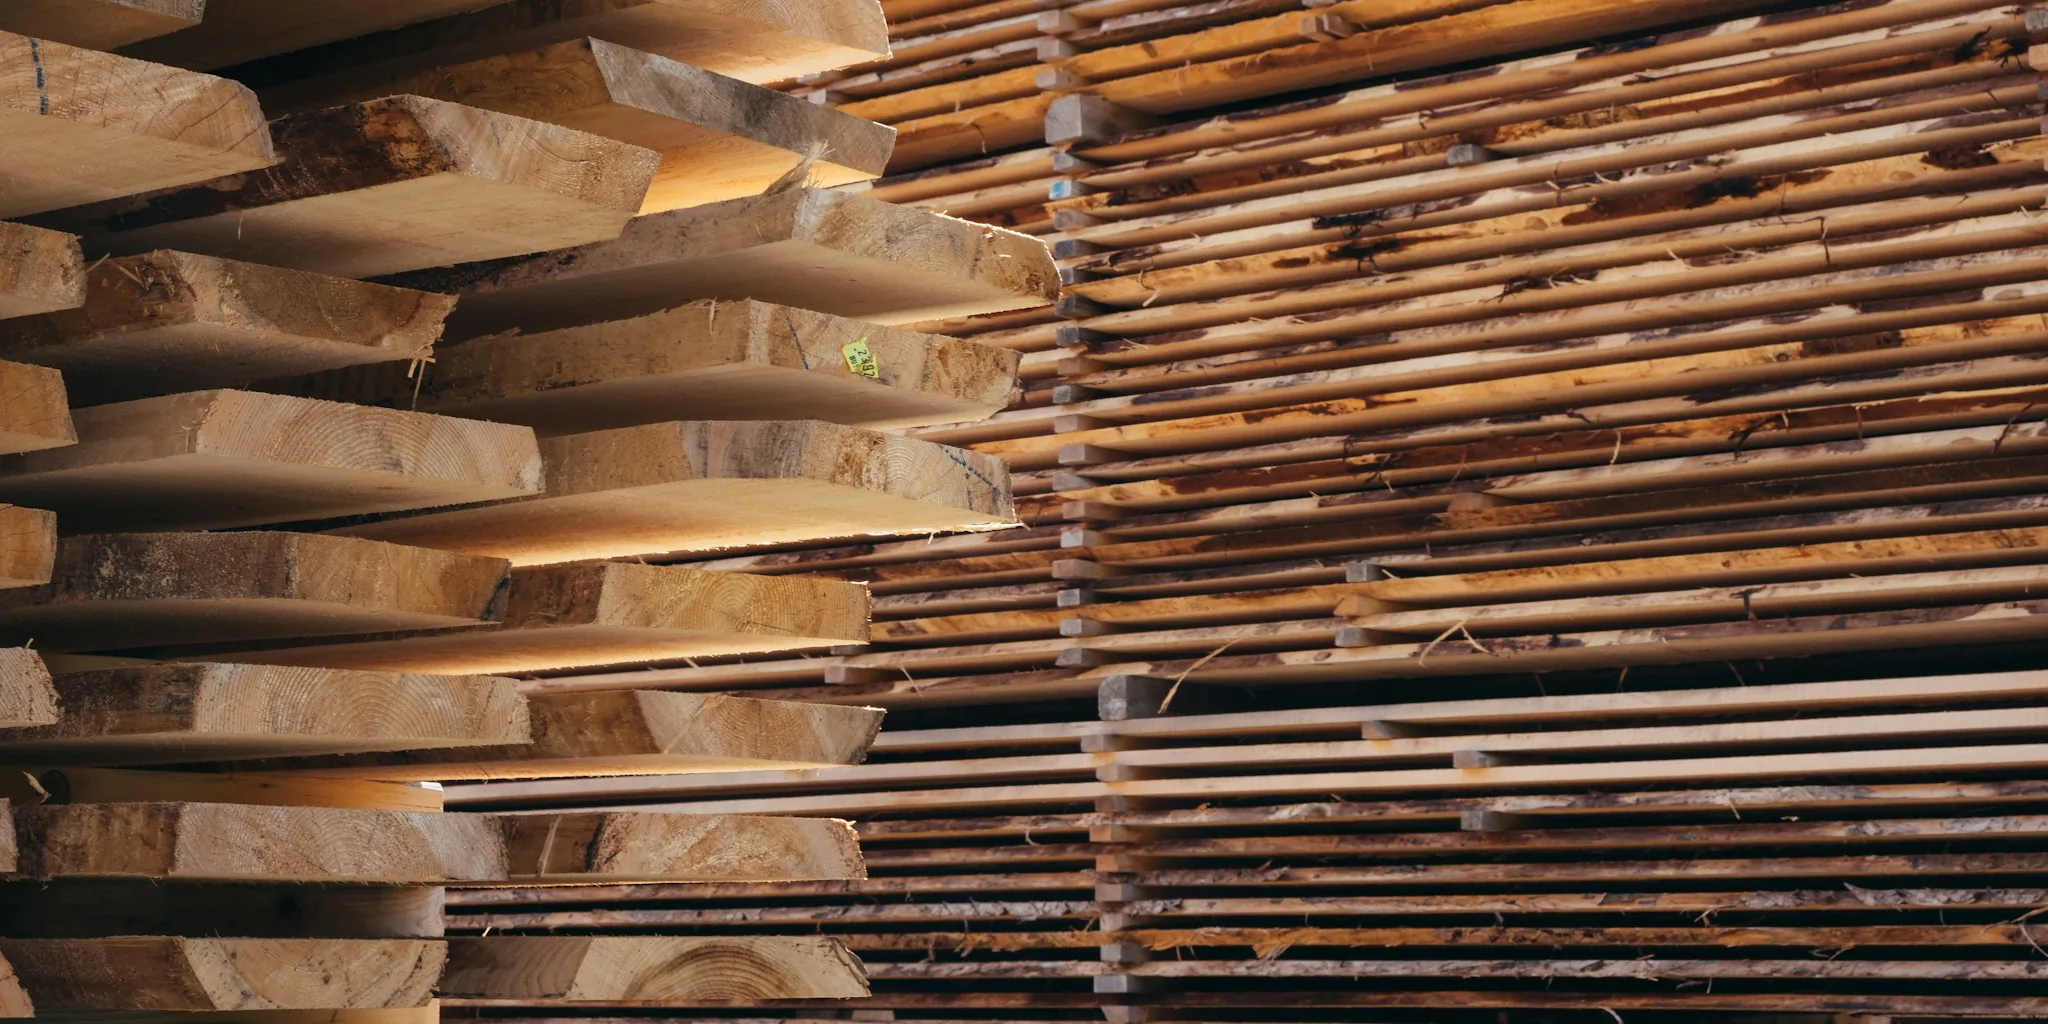
Wood continues to move after installation. As it dries, it shrinks primarily across the width and thickness, losing roughly 1 percent of width for every 4 points of moisture content decrease. A board that goes from 19 percent to the 5 percent moisture of a heated room will shrink about 1/8 inch on a 2×4 or 2×6. This movement, if it happens after framing is nailed in place, causes nail pops in drywall, plaster cracks, open joints and uneven floors. Using KD or S-DRY lumber minimizes this problem because the board has already done most of its drying before installation. For load-bearing framing, accurate measurement tools help verify proper spacing and sizing.
Store Labels Are Not Strength Claims
Shelf tags reading “Premium,” “Top Choice” or “Whitewood Stud” are store signage, not mill grading. These labels may indicate tighter cosmetic limits on surface defects, but they make no claim about the board’s strength. The only strength information comes from the official stamp. Never assume a premium-priced board is structurally superior to a standard-grade piece with the same stamp.
Straightness Requires Visual Inspection
Warping and twisting cannot be predicted from the stamp. Grade limits set how much curve a board can leave the mill with, but more can develop during storage and drying, and neither property relates to load-bearing strength. Sight down each edge and face before purchase. Stack any boards you buy flat with spacer strips between layers and let them acclimate to the room’s moisture for at least two weeks before use. Then sight them again before installation.
Choosing lumber wisely starts with reading the stamp, not the price tag. When you understand grade, species, moisture content and defect rules, you’ll select stronger boards, avoid costly callbacks, and build a structure that meets code and performs reliably for years.