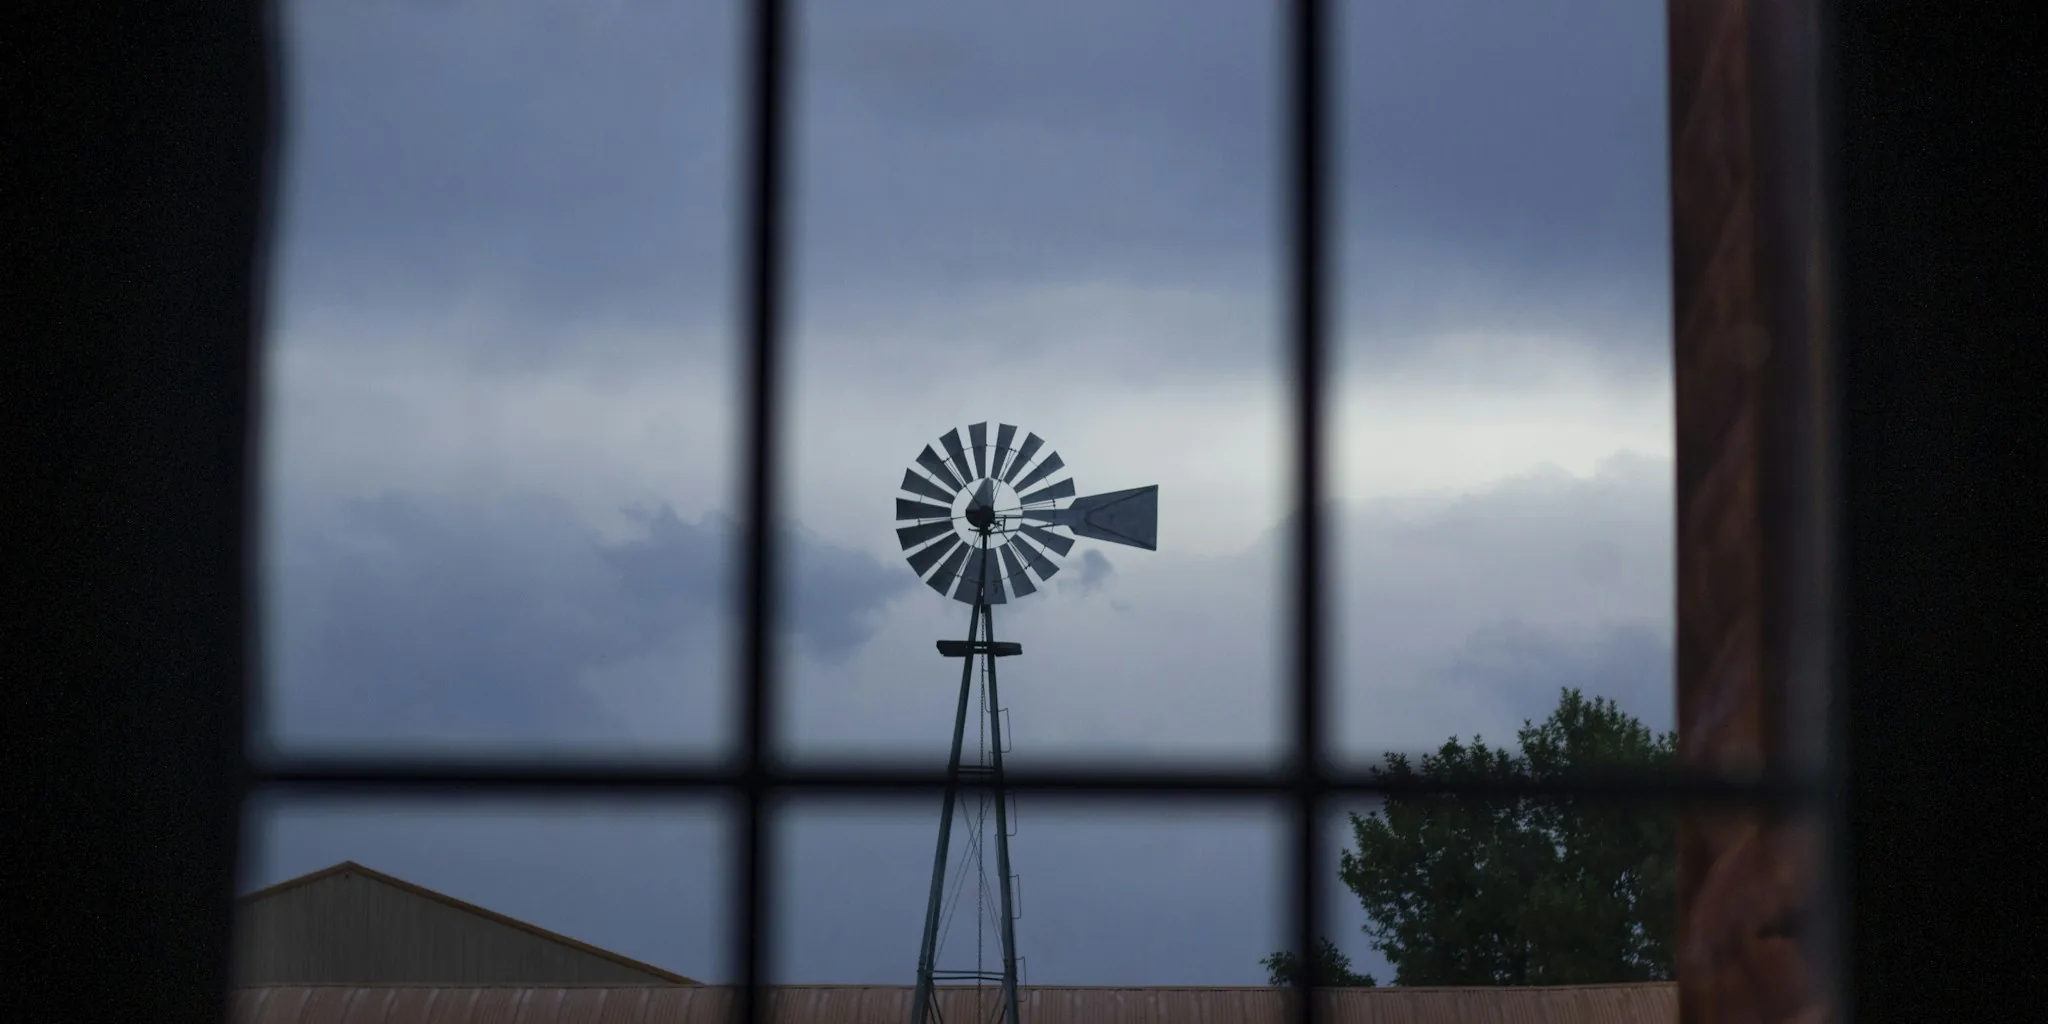

If you’re replacing an old ceiling fan, those worn-out blades don’t have to end up in a landfill. A growing trend in DIY home decor shows that outdated fan blades can be transformed into beautiful rustic windmill decorations that add farmhouse charm to any room. This upcycling project is affordable, manageable for beginners, and produces a statement piece you’ll actually want to display.
Why Upcycled Ceiling Fan Blades Make Great Decor
Most homeowners never consider reusing old ceiling fan blades when it’s time for a replacement. Yet these materials offer several advantages for creative projects. Wood blades work especially well because they’re easier to cut and shape than composite materials. The blades come in various colors and finishes, giving you flexibility in choosing the look you want. Best of all, repurposing existing materials keeps waste out of the trash and gives your home truly unique decor that store-bought items simply can’t match.
The trend gained attention when DIY creators demonstrated just how simple the transformation could be. Even if you’ve never completed a home improvement project before, you can pull off this windmill creation in a weekend. Whether you’re working with ceiling fan blades from your own home or sourcing them from secondhand shops, the basic process remains straightforward and forgiving.
What You’ll Need and How Much It Costs

The beauty of this project is its low price tag. If you gather materials carefully, you can complete a finished windmill for approximately $25 or less, with most items available at craft stores or hardware retailers. You’ll need:
- Old ceiling fan blades (wood blades preferred)
- Cardboard for creating templates
- A floral craft ring or wreath form (typically $8-10)
- Spray paint in a weathered metallic finish
- Basic hardware like bolts and wire
- Standard tools: marker, box cutter, drill, rotary hand cutter
If you don’t have old fan blades at home, they’re easy to find. Check thrift stores, online buy-nothing groups, or Facebook Marketplace for inexpensive or free options. This sourcing strategy makes the project even more budget-friendly and sustainable.
The Step-by-Step Process
Start by removing any hardware attached to your ceiling fan blades. Next, trace the blade shape onto cardboard and sketch your windmill blade design inside that outline. Cut out your template, then use it to mark and cut the actual blade shapes from your salvaged fan blades.
Spray painting is where the magic happens. Weathered silver spray paint gives windmills that authentic rustic appearance, though you can choose any color that matches your home’s aesthetic. The paint finish ultimately determines whether your finished piece looks aged and vintage or modern and sleek.
The final assembly step involves cutting your floral craft ring into sections and bolting your painted blades to one of the pieces. This creates the actual windmill structure. The entire project can be completed in just a few hours, even for someone with minimal DIY experience.
Customization Options for Your Space
Once you understand the basic technique, endless customization options emerge. The original designs typically use three blades, but you can experiment with fewer blades for a minimalist look or add more for a fuller appearance. For a modern industrial aesthetic, consider metallicfinishes or darker paint colors.
Personal touches make your windmill truly one-of-a-kind. Add a monogram, family name, or meaningful date to the blades before assembly. You can also choose between mounting a quarter-circle design on your mantel or wall, or using the entire craft ring to create a full circular showpiece that commands attention.
Wall mounting works beautifully if you don’t have an available mantel space. The lightweight construction means installation is simple with basic wall anchors. Unlike outdoor ceiling fans that are specifically engineered for patio use, this decor piece works best as indoor-only decoration since wood blades can swell or split when exposed to moisture and weather.
Important Durability Considerations
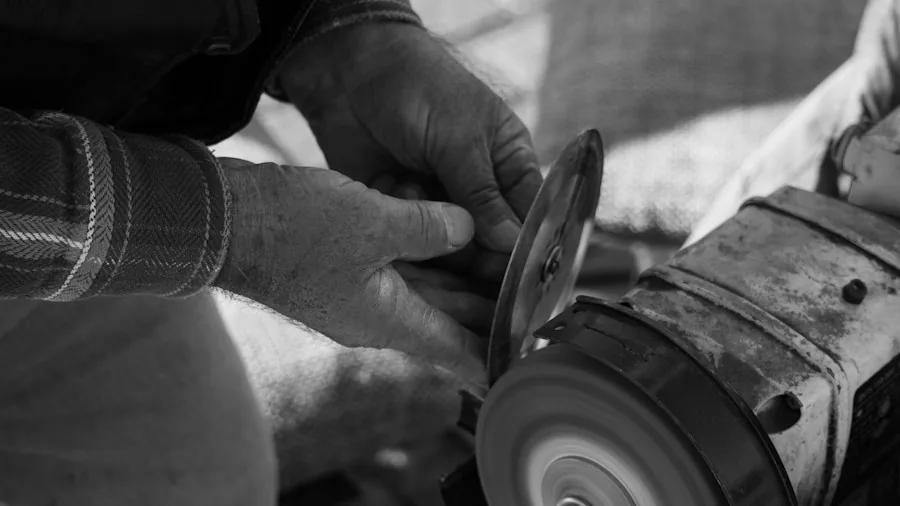
Many ceiling fan blades are made from composite materials like plywood, MDF, or particle board rather than solid wood. These materials aren’t weather-resistant, making them unsuitable for outdoor garden displays unless treated with exterior-grade paint and protective sealant. If you want your windmill to survive outside, invest in quality exterior paint and seal the surface thoroughly before hanging it.
For indoor use, your finished windmill should last for years with minimal maintenance. Display it away from direct sunlight and excessive heat to preserve the paint finish. Unlike low-profile ceiling fans that require proper ventilation, this static decor piece has no airflow requirements.
The Bottom Line for Shoppers
This DIY project proves that old ceiling fan blades have genuine value beyond the trash bin. Whether you’re upgrading your home’s lighting with a new fan or simply looking for affordable farmhouse decor, transforming those old blades into rustic windmills is a practical, creative solution. The low cost, short timeline, and impressive results make this an ideal weekend project for anyone seeking to add character to their home while practicing sustainable living.