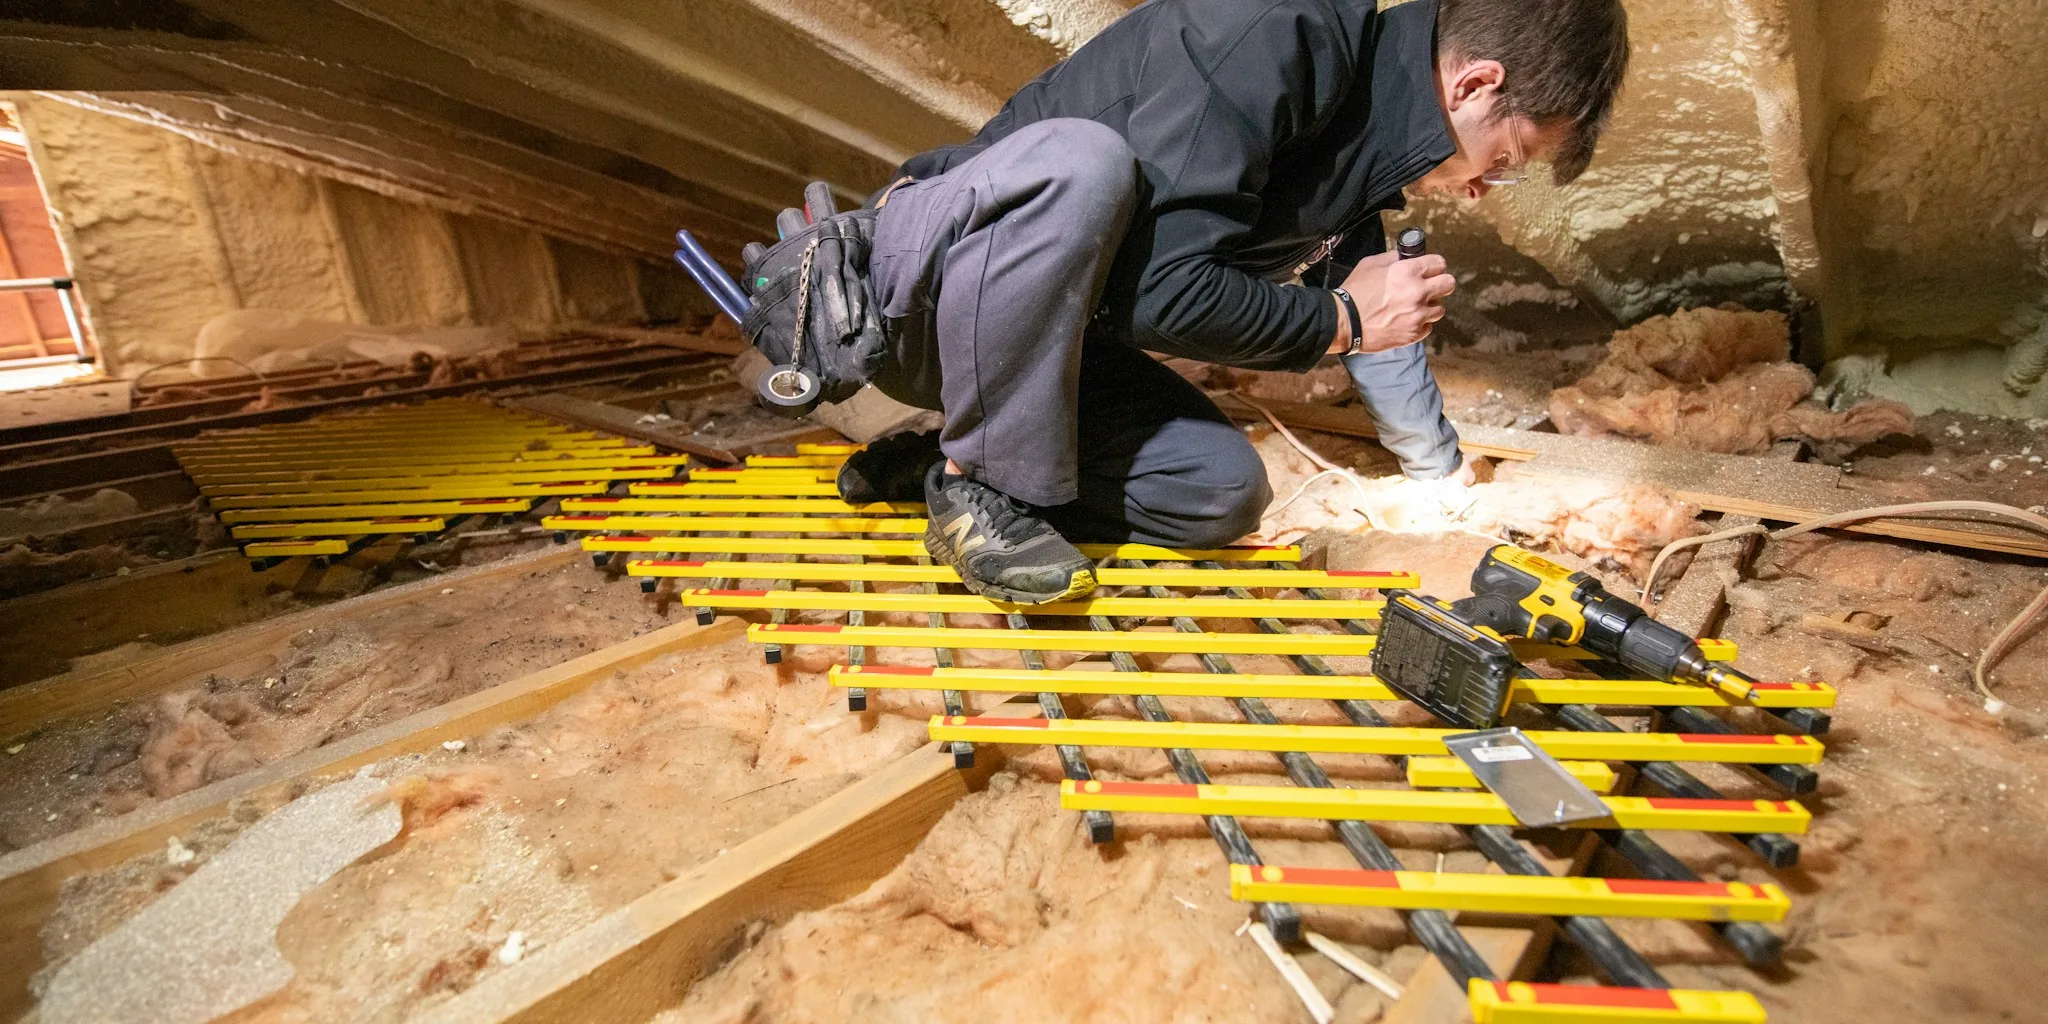

Many homeowners focus on insulating exterior walls when they think about upgrading their home’s thermal protection, but they overlook one of the most significant sources of energy waste: the attic. If your attic lacks proper insulation, conditioned air leaks through the roof year-round, driving up heating and cooling bills substantially. The good news is that adding attic insulation is a manageable DIY project with impressive financial returns.
The Energy Savings Are Real
According to Energy Star estimates, properly insulating your attic floor combined with air sealing can reduce heating and cooling costs by as much as 15 percent. Beyond the monthly utility savings, attic insulation delivers several home comfort benefits. Temperature variations on upper floors often disappear when attic insulation is in place, eliminating the frustration of some rooms being too hot or too cold. Fewer drafts in upstairs spaces become noticeable almost immediately after installation.
When you seal gaps in plumbing runs, electrical penetrations, and around the attic hatch before adding insulation, air leakage stops. This creates a more stable indoor environment and reduces strain on your HVAC system. An added benefit is improved attic ventilation when vents remain unobstructed. Proper airflow prevents mold growth in humid summer months and ice dams in winter.
Is Your Attic a Good Candidate for Insulation?
Not every attic needs floor insulation. If your attic is finished living space with roof insulation already in place, adding floor insulation is unnecessary. Similarly, if your attic sits above an unconditioned garage, insulating the floor won’t improve your home’s efficiency since there’s no climate-controlled space below to protect.
Preparation and Air Sealing Matter
Before laying down any insulation material, seal air leaks thoroughly. Common problem areas include gaps around plumbing and electrical penetrations, the attic access hatch, recessed light fixtures, and spaces between framing members. During winter, warm interior air rises through these gaps, while summer heat pushes downward through them into your living space. Use expanding caulk on gaps around pipes and wires, and install weather stripping around your attic hatch door.
Choose the Right Insulation Type
Three main insulation options exist, each with distinct advantages. Batt and roll insulation comes in large rolls that fit between floor joists without requiring specialized equipment. Fiberglass and mineral wool batts are inexpensive and simple to install, but they lose effectiveness if compressed or poorly fitted. They work best when joist bays are open and uniformly spaced with few obstructions.
Blown-in insulation uses small particles distributed by a blower machine, filling spaces evenly around irregular shapes and obstacles without gaps. This method is messier and requires equipment rental, but it excels at supplementing existing insulation or working around complex attic layouts. Spray foam insulation provides excellent coverage and air sealing in one step, but the installation involves hazardous chemicals and should be left to professionals.
Ventilation Baffles Are Essential
If your attic roof includes soffit vents where the roof meets the attic floor, install baffles or vents to prevent insulation from blocking airflow. Blocked vents cause attic temperatures to spike during summer, creating moist environments where mold thrives. Winter blockages lead to ice dam formation on roofing.
R-Value Determines Insulation Performance
R-value measures how well insulation resists heat flow, with higher values providing better performance. Your climate zone determines the R-value you need. Cold climates like New England may require R-60, while warmer southern regions might need only R-30. An online insulation calculator helps you determine the appropriate R-value for your location and existing conditions.
Installation Basics
When using batts or rolls, place them snugly between floor joists, cutting precisely to eliminate gaps. Avoid compressing insulation, as this reduces its R-value effectiveness. For blown-in materials, place depth markers throughout the attic and blow insulation slightly deeper than your target depth, accounting for settling. Start from the furthest point from your attic exit and work systematically toward it.
Cost Expectations
Budget between $500 and $1,500 for attic insulation materials, or roughly $0.35 to $1.50 per square foot depending on attic size and required R-value. Blown-in cellulose requires blower machine rental, which adds several hundred dollars to the project cost. Material costs for batts and cellulose are comparable, but labor complexity differs.
Signs Your Attic Needs More Insulation
Check your attic floor visually. If insulation sits even with or below the top of floor joists, it’s insufficient. Most floor joists measure 6 to 8 inches deep, which doesn’t meet modern insulation standards. Quality loose-fill insulation should rise several inches above joists, completely covering them. If existing insulation appears deteriorated or compressed, replacement may be necessary.
Safety Precautions
Insulation materials produce fine fibers and dust that can irritate skin, eyes, and lungs. Always wear safety glasses, gloves, long sleeves, long pants, and an N95 or better mask when working with insulation. Proper protection ensures you work comfortably and safely throughout the project.