
Why Garage Insulation Matters
Your garage can become uncomfortably hot in summer or frigid in winter, making it nearly unusable without proper climate control. Beyond comfort, a well-insulated garage reduces strain on your home’s heating and cooling systems, protects stored items from temperature swings, dampens outside noise, and can even boost your home’s resale value. These practical benefits make insulation one of the smartest upgrades you can make to this space.
Tip 1: Understand R-Value and Climate Requirements
R-value measures how effectively a material resists heat transfer. Thicker and denser insulation generally delivers higher R-values. Before you buy anything, research the recommended R-value for your climate zone. For exterior walls in most regions, aim for R-13 to R-21 if your garage is heated. If it’s unheated, focus on insulating only the walls and ceiling that separate it from your home’s living spaces to maintain comfort indoors.
Tip 2: Choose Your Insulation Material Wisely
Fiberglass batts are the most budget-friendly and DIY-friendly option, offering R-values of R-2.9 to R-4.3 per inch. They come pre-cut to fit between standard wall studs. Rigid foam panels deliver better performance (R-3.6 to R-6.8 per inch) and handle tight spaces well, but require careful handling to avoid cracking. Cellulose, made from recycled newspaper, provides solid insulation (R-3.2 to R-3.8 per inch) and can be blown into cavities with rented equipment. For premium results, spray foam offers superior air sealing and high R-values (R-3.5 to R-7 per inch depending on type), though it costs significantly more and typically requires professional installation.
Tip 3: Prepare Surfaces Before Installation
Inspect your garage for cracks, gaps, dampness, and mold before you begin. Use a waterproof masonry sealant applied with a caulking gun to seal all exterior wall cracks and gaps. These openings allow pests to enter and water to cause lasting damage. Remove all wall-mounted items like hooks, nails, and fasteners that could interfere with insulation placement. Let any sealant cure completely according to manufacturer instructions before moving forward.
Tip 4: Know When to DIY vs. Hire a Professional
Fiberglass batts and rigid foam panels are manageable for experienced DIYers working alone or with minimal help. However, blown-in cellulose and spray foam insulation require specialized equipment and professional expertise to install correctly. Spray foam in particular releases strong chemical vapors during application and curing, demanding strict ventilation measures that professionals handle safely. Consider your skill level and the material type before committing to a DIY approach.
Tip 5: Don’t Forget About Garage Doors and Ceilings
Insulating walls alone leaves significant thermal weak spots. Garage doors lose tremendous heat and require specialized insulation kits designed not to obstruct operation. Cut pieces of fiberglass batts to fit individual door panels, secure them with adhesive-backed retention clips, and snap-on pins. For ceilings, use the same process as walls but plan for two people since one must work from a ladder. A garage door insulation guide for homeowners can walk you through the specifics of protecting this high-impact area.
Tip 6: Install a Vapor Barrier Correctly
After fitting insulation between studs or joists, apply a vapor barrier on the warm side (the room side) using a staple gun. This protective layer prevents moisture from accumulating in walls and causing rot, mold, and structural damage. Take care not to puncture the barrier during installation, as holes can trap moisture and defeat the entire purpose. An insulation buyer’s guide covers vapor barrier selection and placement in detail.
Tip 7: Add Drywall for a Finished Result
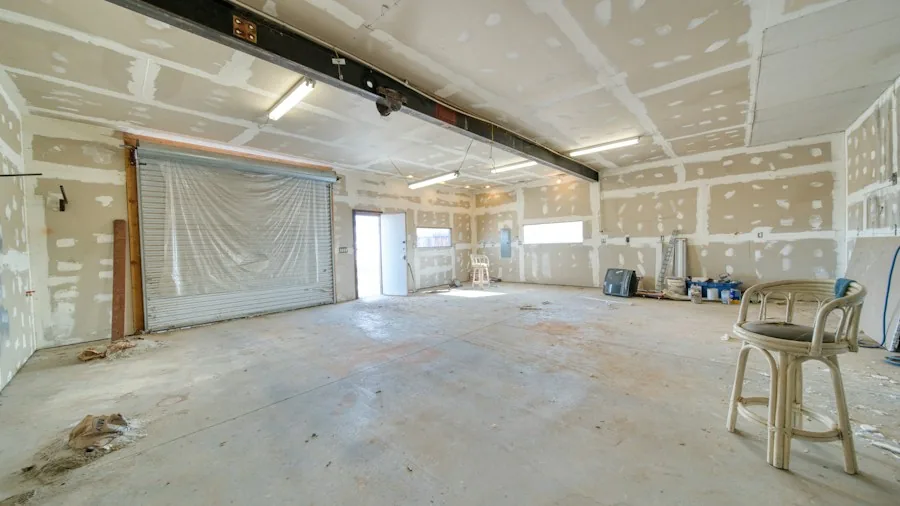
While insulation alone improves performance, covering it with drywall provides fire protection, keeps the insulation in place, and gives your garage a finished appearance. Measure walls and ceilings carefully, secure drywall sheets with screws, tape the seams, apply joint compound, sand smooth, and paint. This final step transforms the garage into a polished, professional-looking space that you’ll enjoy using year-round.
Safety and Cost Considerations
Always wear protective equipment including safety glasses, a respirator, thick work gloves, long sleeves, and long pants, as insulation materials can release particles that irritate skin and lungs. Turn off electrical power to garage circuits before working near exposed wiring. Expect to spend roughly 50 cents to 1.25 dollars per square foot for wall insulation, 1 to 3.89 dollars per inch for ceilings, and 200 to 300 dollars for garage door insulation. A typical 1,200-square-foot garage runs between 600 and 1,500 dollars total. Attic insulation offers similar energy savings benefits if you’re looking to improve efficiency elsewhere in your home.