
A Fresh Approach to Outdoor Lighting
If you’re searching for creative ways to illuminate your yard, the options seem endless. From stake-style solar fixtures pushed into garden beds to strung twinkle lights draped across patios, homeowners have plenty of choices for outdoor lighting solutions. But one trend gaining attention combines two household staples in an unexpected way: terracotta pots and solar lights. This DIY approach offers shoppers an affordable, customizable alternative to traditional yard lighting while turning everyday gardening supplies into functional outdoor décor.
Why This Lighting Trend Matters for Shoppers
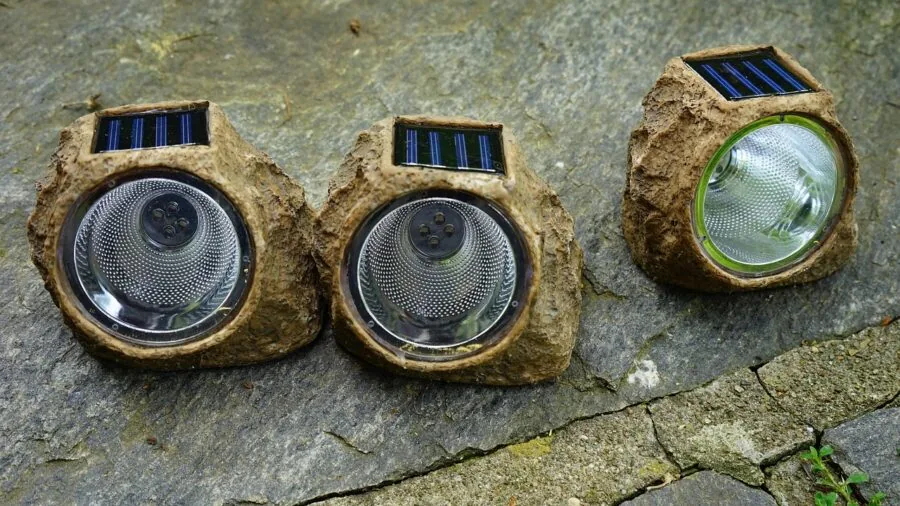
Traditional garden lighting can become expensive, especially when outfitting larger yards or creating layered lighting schemes. Many homeowners are rethinking how they approach lighting strategy, and this terracotta pot method delivers several practical advantages. First, most gardeners already have spare terracotta pots on hand, eliminating the need to purchase specialty garden lights. Second, the customization possibilities are virtually limitless. Third, the total material cost remains minimal, typically under fifteen dollars per light, making it budget friendly for anyone wanting to upgrade their outdoor spaces.
How the DIY Lighting Project Works
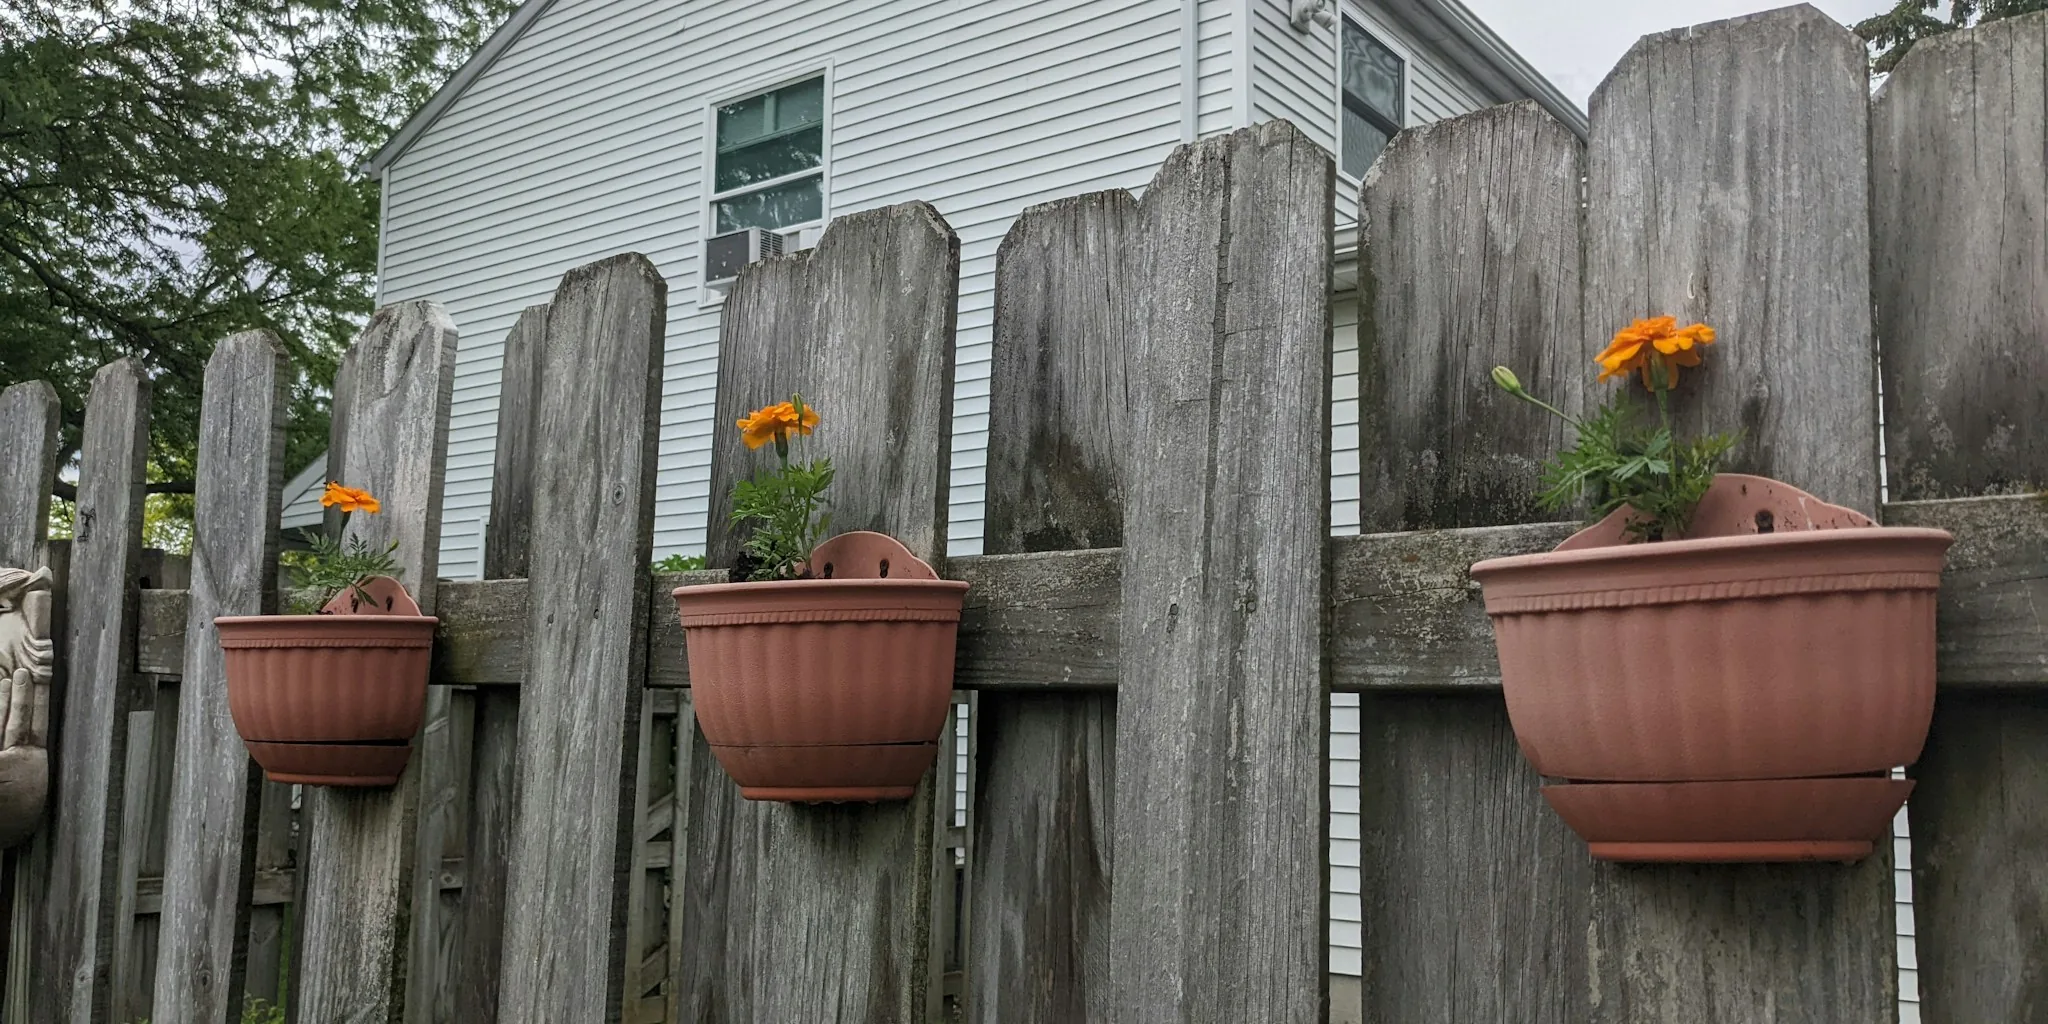
The concept is straightforward: paint a terracotta pot to resemble a ladybug or other design, then insert a small solar stake light through the drainage hole at the bottom. The solar stake serves as both the power source and the support structure, while the painted pot becomes the diffuser and decorative element. When sunlight hits the pot during the day, the solar panel charges the internal battery. At night, the light automatically activates, casting a soft glow through the painted terracotta.
Materials You’ll Need to Get Started
Assembling supplies for this project requires a trip to basic craft and hardware stores. You’ll need terracotta pots in your preferred size, solar stake lights with stakes thin enough to fit through drainage holes, acrylic or spray paint in multiple colors, paintbrushes or paint daubers, chalk for sketching designs, permanent markers, and a waterproof sealant to protect finished artwork from moisture and UV damage. Some shoppers opt for specialty primers when painting plastic or concrete pots instead of traditional terracotta, which naturally accepts paint without additional preparation.
Design Options Beyond Ladybugs
While the ladybug design has become popular for this type of lighting project, it’s just one starting point. Homeowners can paint striped bees, colorful flowers, geometric patterns, or abstract designs. Some choose to coordinate their pot lights with existing garden themes or home exterior colors. As outdoor lighting continues to evolve as a design element, personalization increasingly matters to shoppers seeking unique yard aesthetics. The flexibility to update designs seasonally or repaint pots for different occasions appeals to homeowners who want their lighting to reflect current décor preferences.
Step-by-Step Execution Tips
Success begins with proper preparation. Cleaning terracotta thoroughly with a damp cloth removes dust and debris, allowing paint to adhere evenly. Sketch designs lightly with chalk before committing to paint, giving you the chance to adjust proportions. Allow adequate drying time between paint layers, typically thirty minutes or less for acrylic paint. Apply sealant generously to protect against water damage, which is crucial since these lights remain outside year-round in varying weather conditions. Finally, ensure your solar light stake fits comfortably through the drainage hole without forcing it, which could crack the pot.
What This Means for Your Outdoor Space
As lighting trends continue to emphasize personal expression and sustainable design, this terracotta pot approach aligns with both values. Upcycling existing garden supplies reduces waste while creating functional outdoor lighting. The low cost means shoppers can afford to create multiple lights, building an attractive lighting scheme for pathways, garden beds, patio perimeters, or decorative focal points. Maintenance is minimal: simply ensure the solar panel stays clean for optimal charging, and reapply sealant every couple of years as UV exposure wears protective layers.
Conclusion
This DIY lighting solution represents a practical shift in how budget conscious shoppers approach yard design. By combining affordable materials with creative customization, anyone can achieve professional looking outdoor lighting without premium pricing. Whether you’re an experienced gardener with spare pots or a newcomer to yard projects, this approach offers an accessible entry point into custom outdoor lighting design.